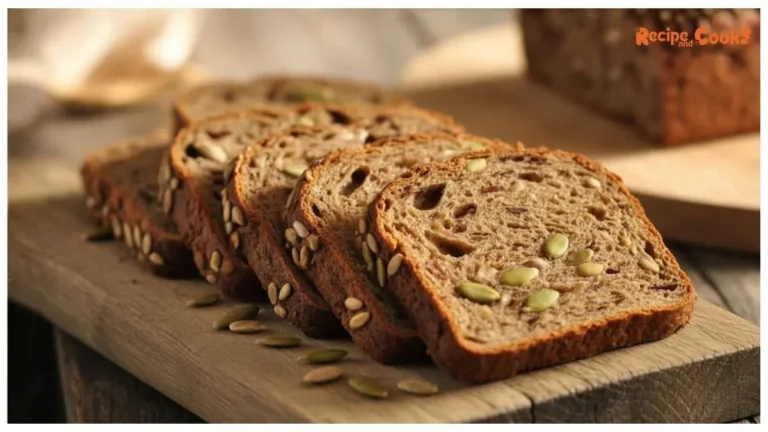
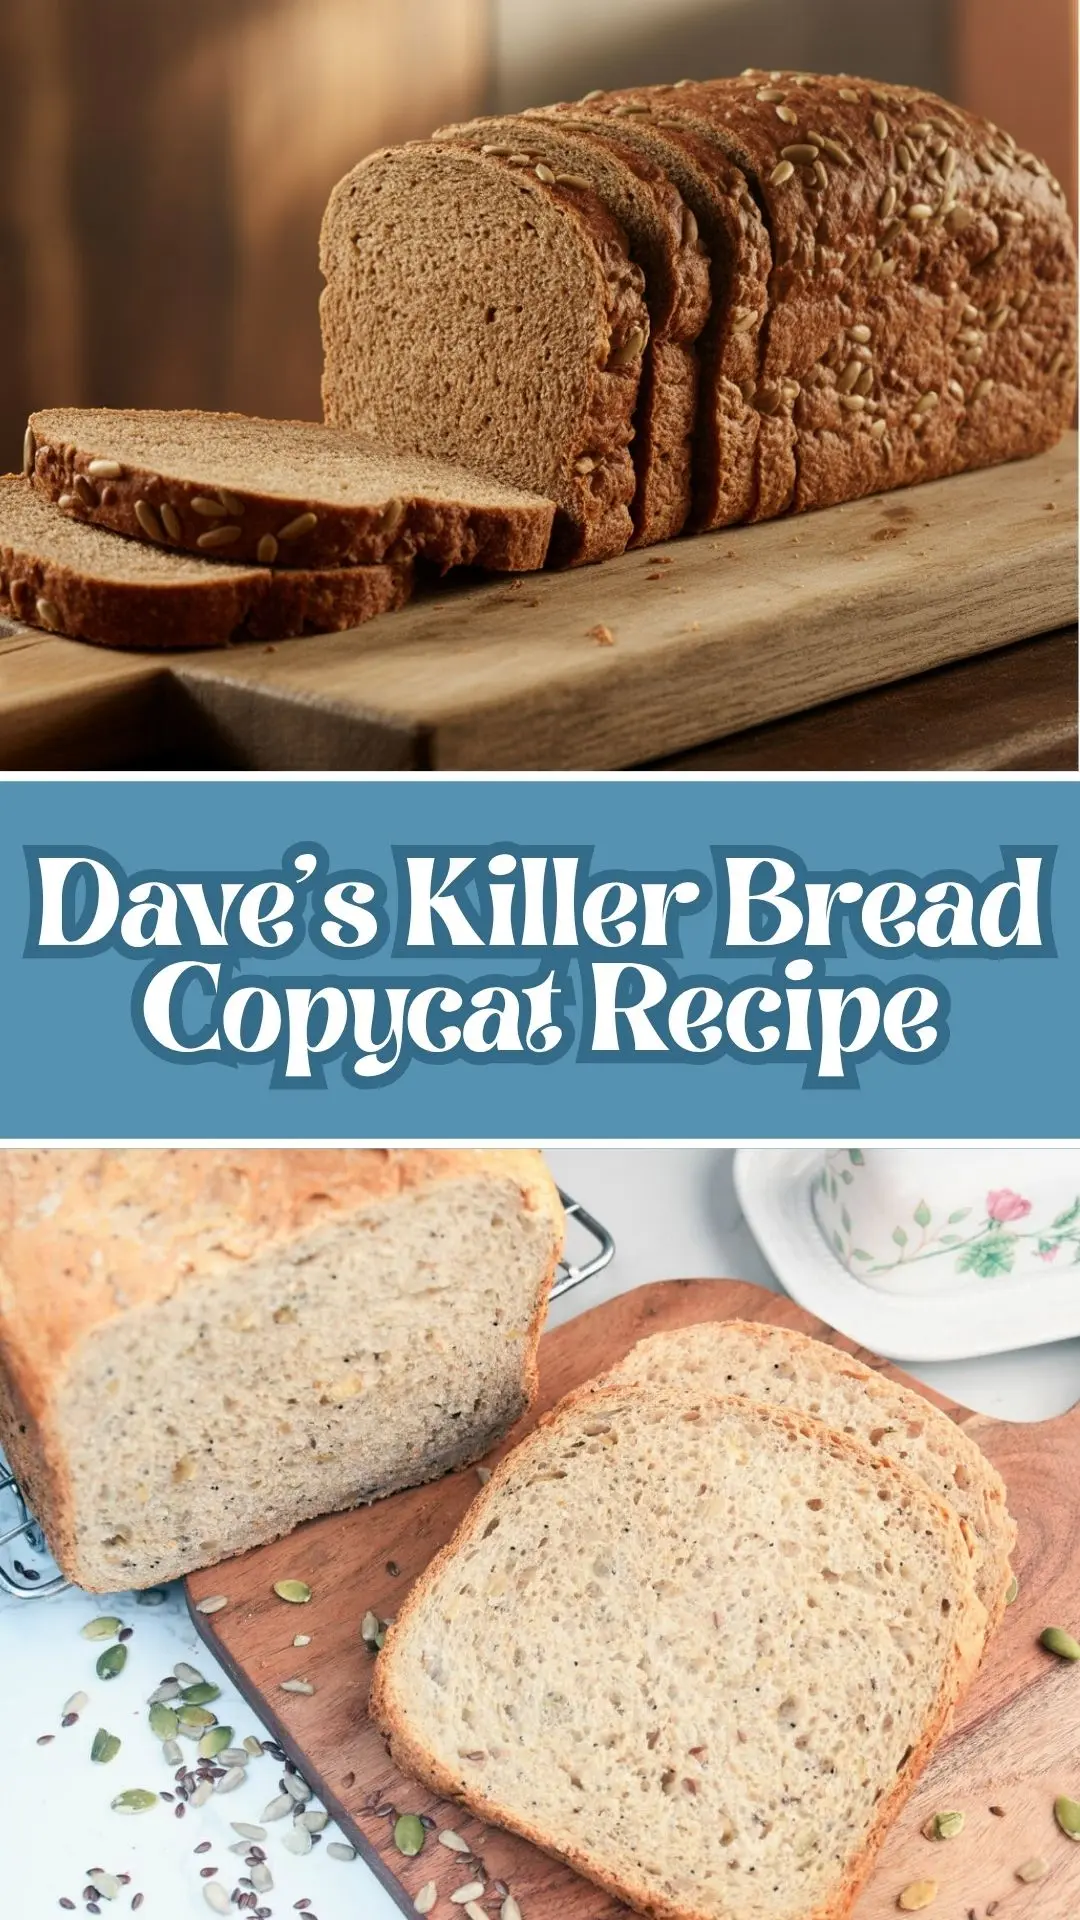
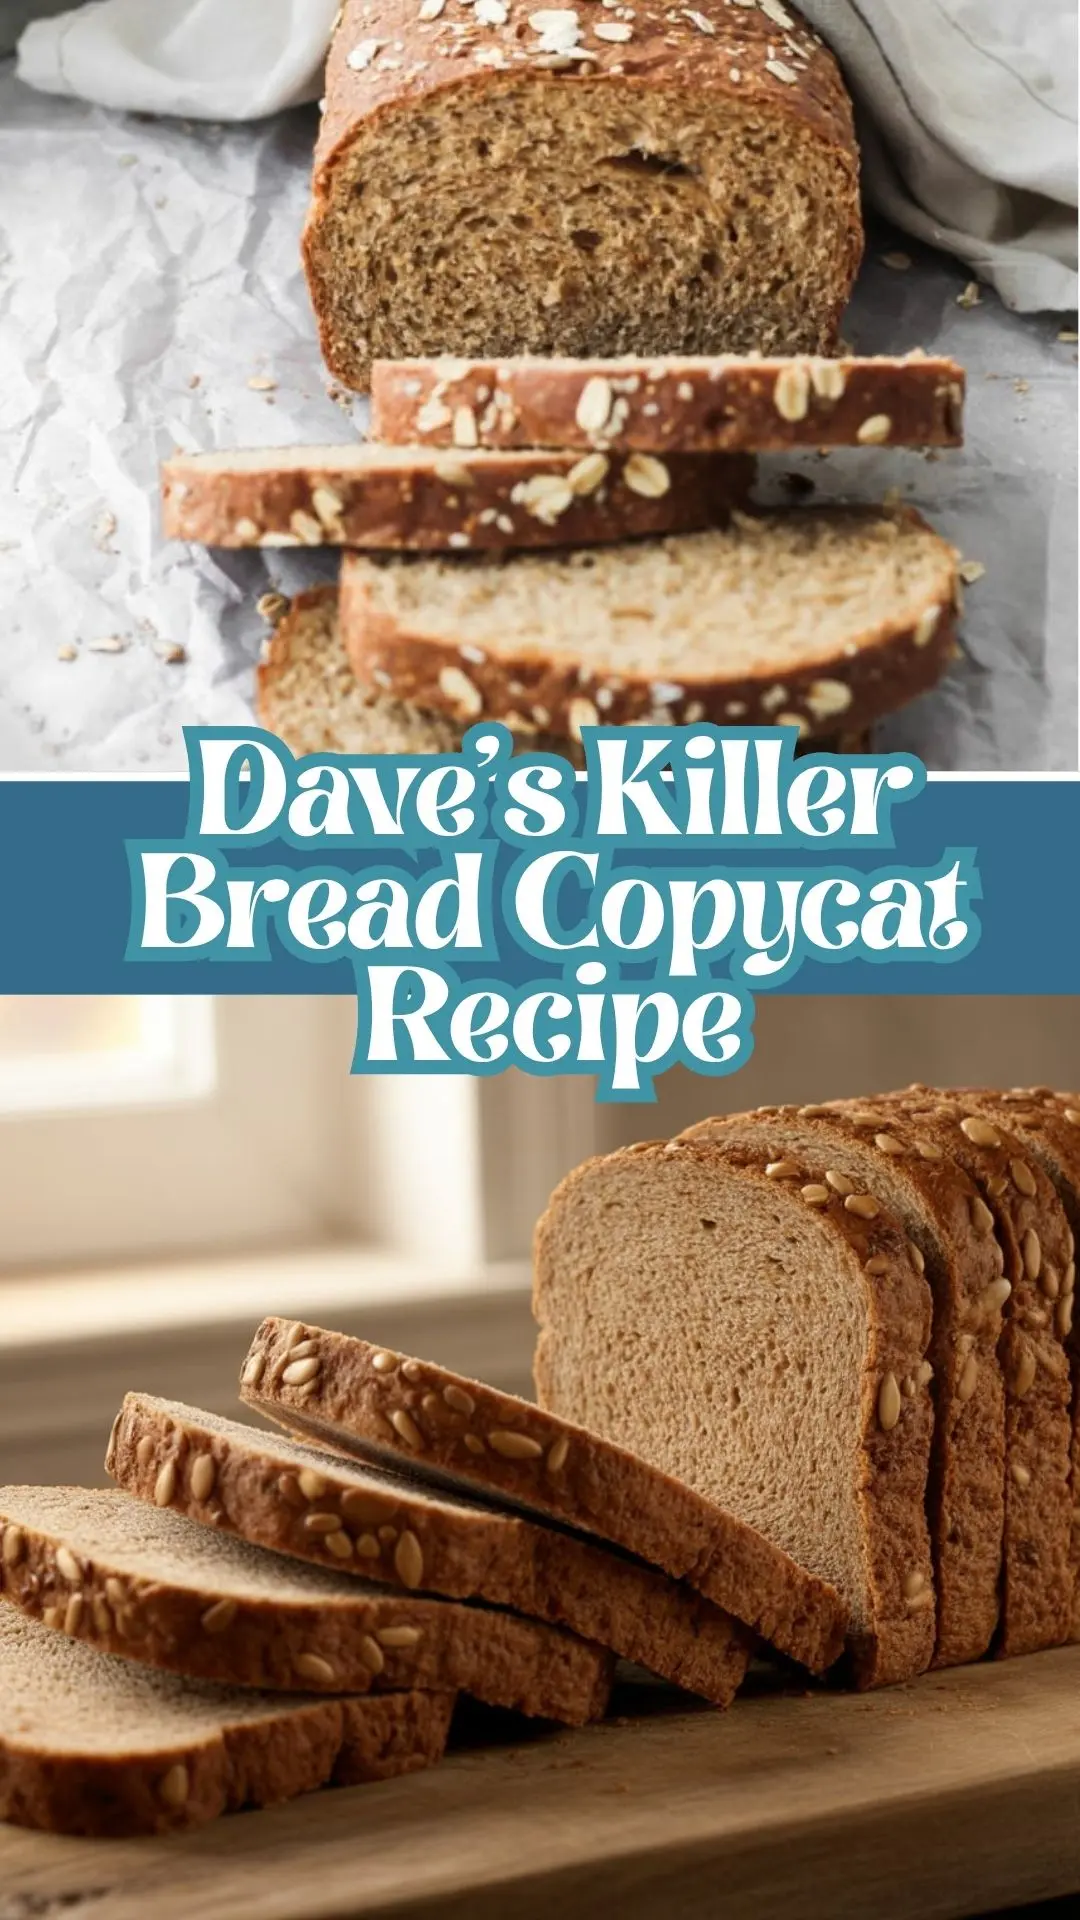
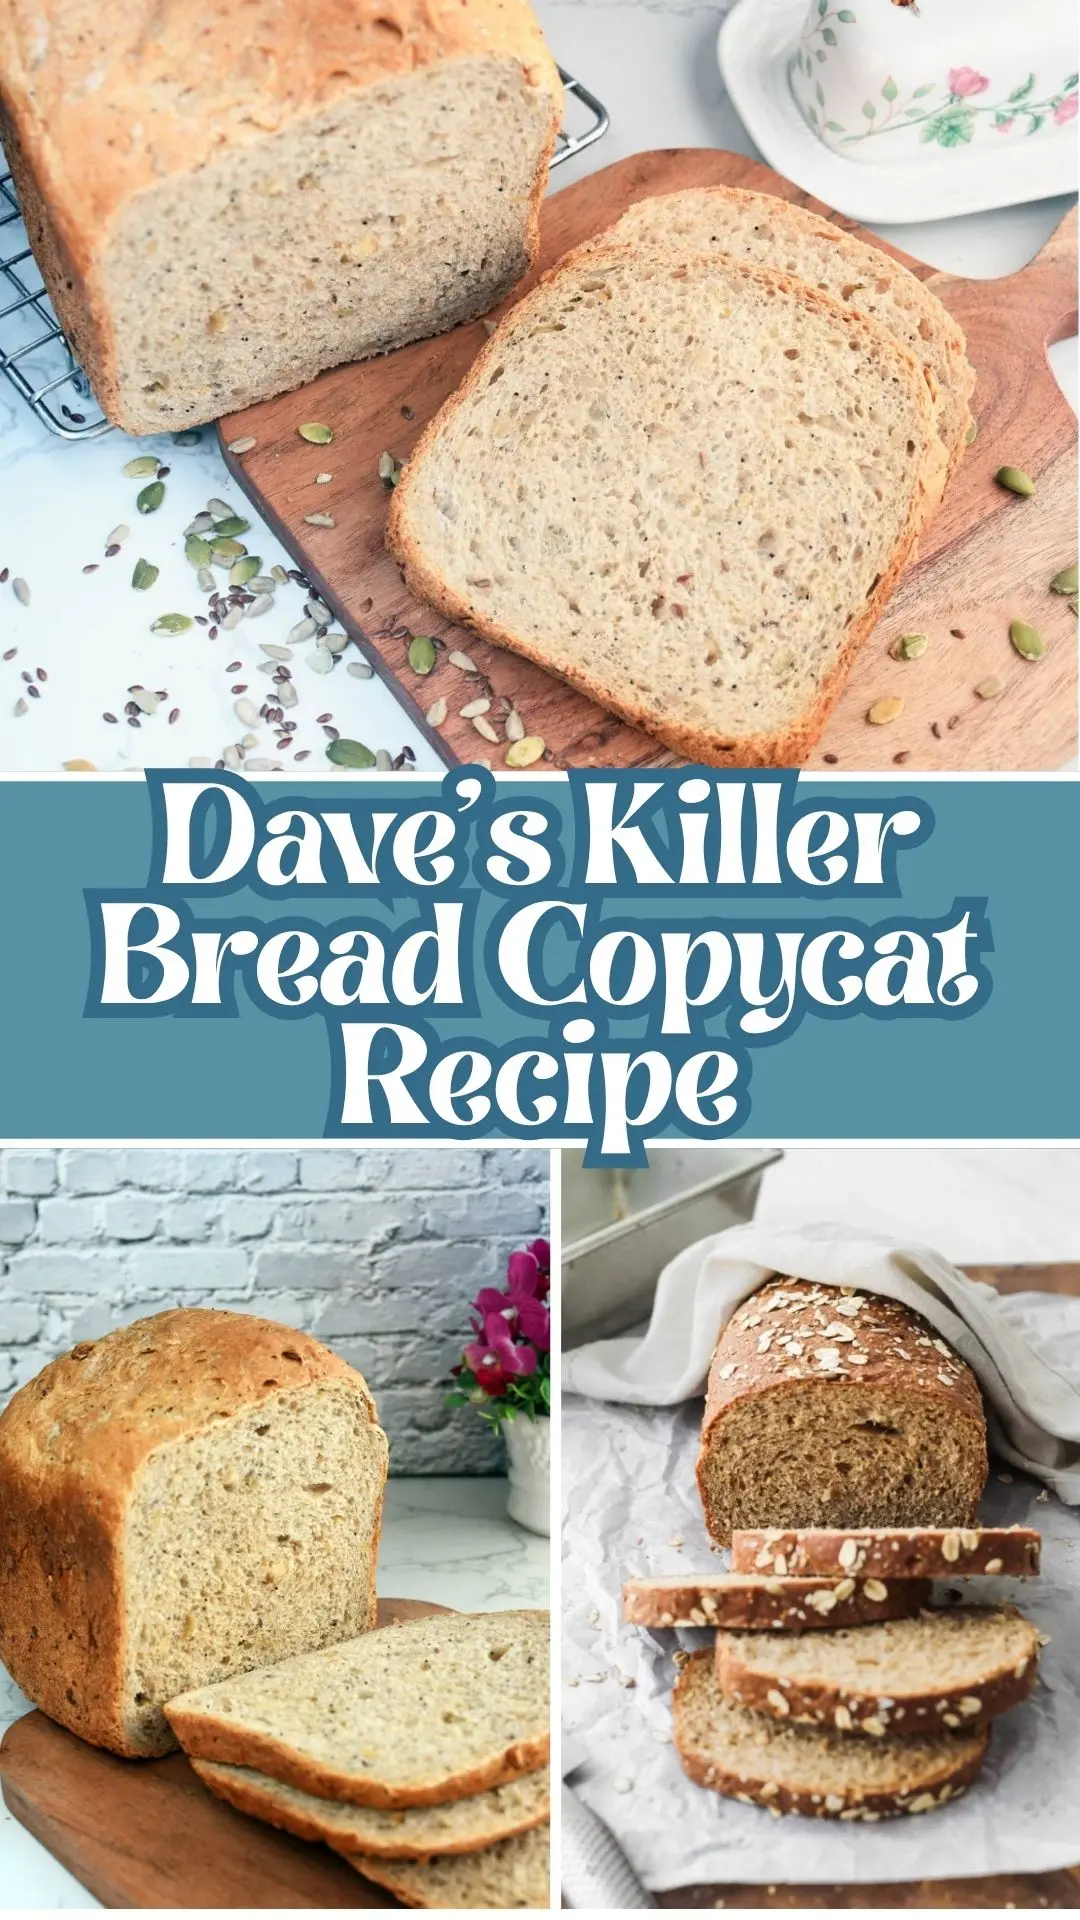
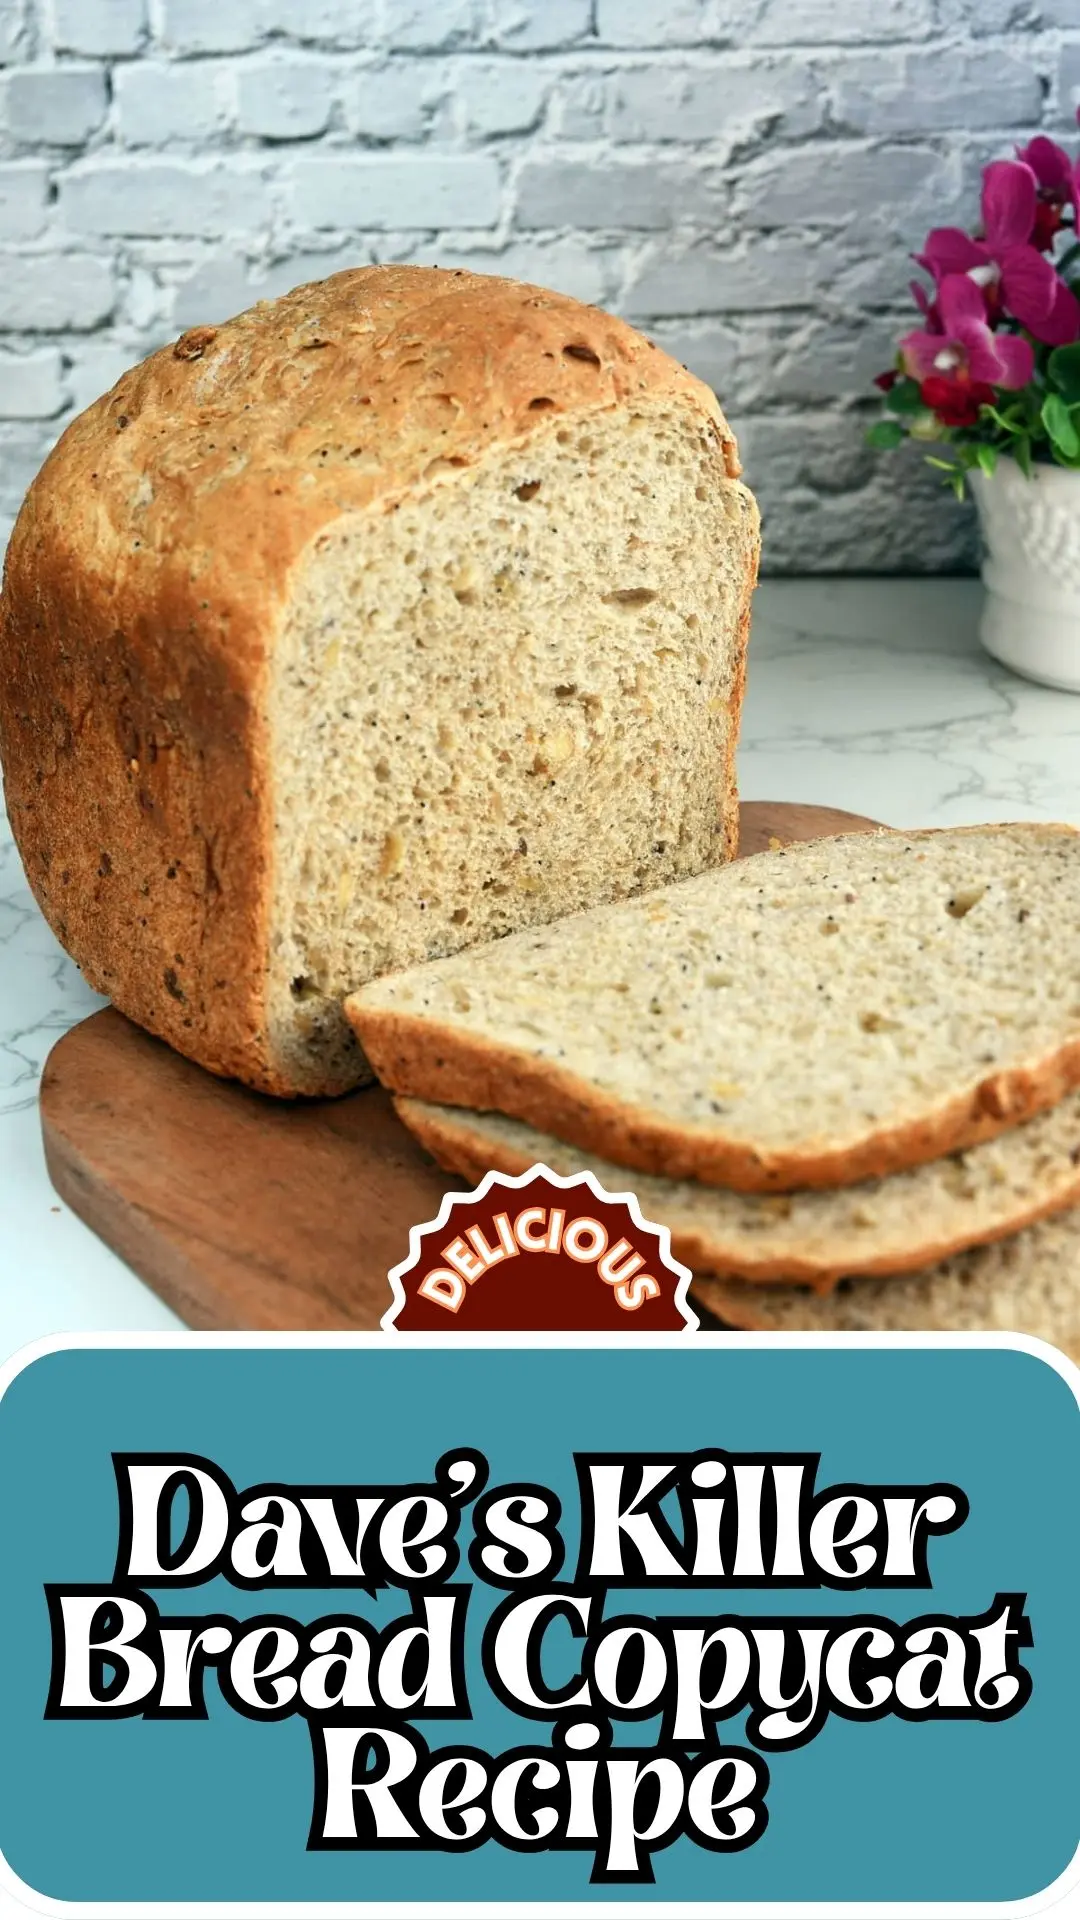
If you’ve ever savored a slice of Dave’s Killer Bread and wished you could recreate that iconic hearty texture and nutty flavor at home, you’re in the right place.
This dave’s killer bread copycat recipe brings together an incredible blend of whole grains, seeds, and just the right touch of sweetness to replicate that beloved bakery taste.
Making daves killer bread recipe from scratch might seem intimidating, but with the right technique and patience, you’ll be rewarded with a dense, nutritious loaf that rivals the original.
Whether you’re looking to avoid preservatives, save money, or simply enjoy the satisfaction of baking artisan bread at home, this copycat dave’s killer bread recipe delivers on all fronts.
What Does It Taste Like?
This dave’s bread recipe offers a beautifully complex flavor profile that balances earthy whole grains with subtle sweetness from honey and molasses.
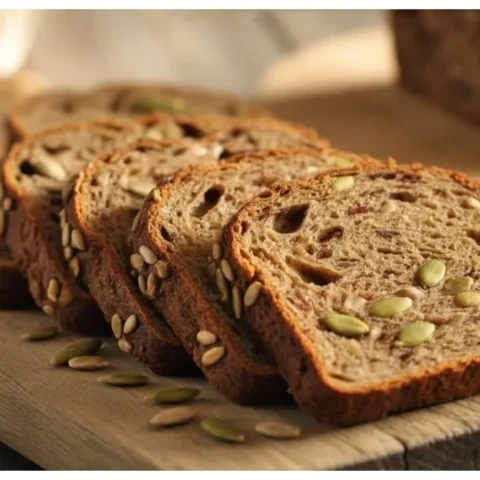
Each bite delivers a satisfying nutty crunch from the medley of seeds sesame, sunflower, pumpkin, and flax while the combination of whole wheat, spelt, amaranth, and kamut flours creates a deeply wholesome taste.
The texture is hearty and dense yet tender, with a slight chewiness that makes it perfect for toast or sandwiches. The molasses adds a hint of caramel-like richness, while the various grains provide layers of flavor that unfold with each chew. It’s wholesome comfort in every slice.
Dave’s Killer Bread Copycat Recipe Ingredients
For the Dough:
- 2 1/4 teaspoons instant yeast
- 2 cups warm water (110°F)
- 1 tablespoon molasses
- 2 tablespoons honey
- 3 1/4 cups whole wheat flour
- 1/4 cup amaranth flour
- 1/4 cup spelt flour
- 1/4 cup kamut flour
- 1 1/2 teaspoons salt
For the Seed & Grain Mix:
- 1 tablespoon ground flax seed
- 2 teaspoons dry unsalted pumpkin seeds
- 1 teaspoon black sesame seeds
- 1 teaspoon sesame seeds
- 1 tablespoon quinoa
- 1 tablespoon wheat germ
- 2 teaspoons dry unsalted sunflower seeds
- 2 tablespoons old fashioned rolled oats
Kitchen Utensils
- Stand mixer with dough hook attachment
- Large mixing bowls (2)
- 9 x 5 inch loaf pan
- Plastic wrap or large plastic bag
- Measuring cups and spoons
- Kitchen thermometer (optional, for water temperature)
- Granite or marble work surface (preferred for kneading)
Preparation and Cooking Time
Prep Time: 25 minutes
First Rise: 1 hour
Second Rise: 30-45 minutes
Baking Time: 35-45 minutes
Cooling Time: 30 minutes
Total Time: Approximately 3 hours 10 minutes
Servings: 1 loaf (approximately 12-14 slices)
Dave’s Killer Bread Copycat Recipe Instructions
Step 1: Activate the Yeast
Add the instant yeast to your stand mixer bowl and pour in the warm water (ensure it’s around 110°F too hot will kill the yeast). Let this mixture sit undisturbed for 3-5 minutes until the yeast becomes foamy and activated, indicating it’s alive and ready to work its magic.
Step 2: Prepare Dry Ingredients
While the yeast activates, combine all your flours (whole wheat, amaranth, spelt, and kamut) with the salt in a large bowl. In a separate bowl, mix together all the seeds, quinoa, wheat germ, and oats. This pre-mixing ensures even distribution throughout your dave’s killer bread recipe.
Step 3: Add Sweeteners
Once your yeast is foamy, add the honey and molasses to the yeast mixture. Mix briefly and let it sit for another minute, allowing the sweeteners to begin feeding the yeast.
Step 4: Form the Dough
With your stand mixer on medium speed using the dough hook, slowly incorporate the flour and salt mixture. Mix until a very sticky dough forms this is exactly what you want! Add your seed and grain mixture and continue mixing until everything is fully incorporated.
Step 5: The Critical Kneading Process
Remove the dough from the mixer and transfer it to a lightly floured surface (granite or marble works best, avoid wood). The dough will be extremely sticky resist adding too much flour! Knead for at least 15 minutes. This extended kneading is crucial for developing the gluten structure that gives this copycat dave’s killer bread recipe its characteristic texture.
Step 6: Windowpane Test
After 15 minutes of kneading, perform the windowpane test: take a small ball of dough and gently stretch it between your forefingers and thumbs. If you can stretch it thin enough to see light through it without it tearing, the gluten is properly developed. If it rips immediately, continue kneading for another 5 minutes and test again.
Step 7: First Rise
Place your kneaded dough in a lightly oiled large bowl, cover tightly with plastic wrap, and let it rise in a warm, draft-free location until it doubles in size approximately 1 hour.
Step 8: Shape the Loaf
Preheat your oven to 425°F and lightly grease your 9 x 5 inch loaf pan. Once the dough has doubled, punch it down to release the gas. Turn it out onto your work surface and flatten it into a large rectangle. Fold in the sides, then roll it tightly into a log shape. Place it seam-side down in your prepared loaf pan.
Step 9: Second Rise
Cover the pan with plastic wrap or, for best results, place the entire pan inside a large plastic bag (this allows room for the dough to rise above the pan). Tie the top and tuck the tied ends underneath the pan. Let rise until almost doubled, about 30-45 minutes.
Step 10: Bake to Perfection
Bake on the center rack of your preheated oven for 35-45 minutes. The loaf is done when the top is golden brown and when you tap the bottom of the loaf, it sounds hollow. This hollow sound indicates the bread is fully baked through.
Step 11: Cool and Enjoy
Remove from the oven and let cool in the pan for 5 minutes, then turn out onto a wire rack. Allow the bread to cool for at least 30 minutes before slicing this cooling period lets the crumb structure set properly, making slicing much easier.
7 Customization and Pairing Ideas for Serving
1. Seed Topping Variation
Before the second rise, brush the top of your loaf with an egg wash (1 beaten egg with 1 tablespoon water) and generously sprinkle with additional rolled oats, sesame seeds, and sunflower seeds. This creates a beautifully textured crust that’s visually stunning and adds extra crunch.
2. Cinnamon Raisin Twist
For a sweeter breakfast version of this daves killer bread recipe, add 1 tablespoon of cinnamon to your flour mixture and fold in 3/4 cup of raisins during the final kneading stage. This transforms your loaf into the perfect companion for morning coffee.
3. Avocado Toast Perfection
Toast thick slices of this hearty bread and top with smashed avocado, red pepper flakes, a squeeze of lemon, and everything bagel seasoning. The dense texture of this dave’s bread recipe provides the perfect foundation that won’t get soggy.
4. Gourmet Sandwich Base
Use this bread for elevated sandwiches it pairs exceptionally well with turkey, sharp cheddar, cranberry sauce, and arugula, or try it with smoked salmon, cream cheese, capers, and red onion. The robust grain flavor complements bold ingredients beautifully.
5. French Toast Upgrade
Transform day-old slices into exceptional French toast. The dense texture absorbs the egg mixture perfectly without falling apart, and the nutty grain flavors add complexity. Top with fresh berries, Greek yogurt, and a drizzle of pure maple syrup.
7 Essential Tips for Perfect Results
1. Water Temperature is Critical
The temperature of your water should be between 105-115°F. Too cold and the yeast won’t activate properly; too hot (above 120°F) and you’ll kill the yeast. If you don’t have a thermometer, the water should feel comfortably warm on your wrist like bathwater for a baby.
2. Don’t Rush the Kneading
The 15-minute kneading time isn’t a suggestion it’s essential for this copycat dave’s killer bread recipe. Multi-grain breads require extended kneading to develop sufficient gluten structure because the bran in whole wheat flour can cut gluten strands. Set a timer and commit to the full time for the best texture.
3. Embrace the Sticky Dough
This dough should feel uncomfortably sticky at first. Fighting this by adding too much flour will result in a dry, crumbly loaf. Instead, lightly oil your hands when kneading if the stickiness becomes unmanageable. As you knead, the dough will gradually become more manageable as the gluten develops.
4. Create the Perfect Rising Environment
Yeast thrives in warm, humid environments around 75-80°F. If your kitchen is cool, create a proofing box by turning your oven on for 1 minute, turning it off, then placing your covered dough inside. Alternatively, place it near (not on) a warm appliance or in a sunny spot.
5. The Windowpane Test is Non-Negotiable
This test might seem fussy, but it’s the only reliable way to know if your gluten is properly developed. A loaf that hasn’t passed the windowpane test will be dense and crumbly rather than cohesive and sliceable. Take the time to get it right.
Storage and Reheating Guidance
Store your homemade dave’s killer bread copycat recipe at room temperature in an airtight container or resealable bag for up to 4 days. For longer storage, slice and freeze for up to 3 months toast slices directly from frozen for quick breakfast solutions.
Dave's Killer Bread Copycat Recipe
If you’ve ever savored a slice of Dave’s Killer Bread and wished you could recreate that iconic hearty texture and nutty flavor at home, you’re in the right place.
Ingredients
- 2 1/4 teaspoons instant yeast
- 2 cups warm water, 110°F
- 1 tablespoon molasses
- 2 tablespoons honey
- 3 1/4 cups whole wheat flour
- 1/4 cup amaranth flour
- 1/4 cup spelt flour
- 1/4 cup kamut flour
- 1 1/2 teaspoons salt
- 1 tablespoon ground flax seed
- 2 teaspoons dry unsalted pumpkin seeds
- 1 teaspoon black sesame seeds
- 1 teaspoon sesame seeds
- 1 tablespoon quinoa
- 1 tablespoon wheat germ
- 2 teaspoons dry unsalted sunflower seeds
- 2 tablespoons old fashioned rolled oats
Instructions
Add the instant yeast to your stand mixer bowl and pour in the warm water (ensure it’s around 110°F too hot will kill the yeast). Let this mixture sit undisturbed for 3-5 minutes until the yeast becomes foamy and activated, indicating it’s alive and ready to work its magic.
While the yeast activates, combine all your flours (whole wheat, amaranth, spelt, and kamut) with the salt in a large bowl. In a separate bowl, mix together all the seeds, quinoa, wheat germ, and oats. This pre-mixing ensures even distribution throughout your dave’s killer bread recipe.
Once your yeast is foamy, add the honey and molasses to the yeast mixture. Mix briefly and let it sit for another minute, allowing the sweeteners to begin feeding the yeast.
With your stand mixer on medium speed using the dough hook, slowly incorporate the flour and salt mixture. Mix until a very sticky dough forms this is exactly what you want! Add your seed and grain mixture and continue mixing until everything is fully incorporated.
Remove the dough from the mixer and transfer it to a lightly floured surface (granite or marble works best, avoid wood). The dough will be extremely sticky resist adding too much flour! Knead for at least 15 minutes. This extended kneading is crucial for developing the gluten structure that gives this copycat dave’s killer bread recipe its characteristic texture.
After 15 minutes of kneading, perform the windowpane test: take a small ball of dough and gently stretch it between your forefingers and thumbs. If you can stretch it thin enough to see light through it without it tearing, the gluten is properly developed. If it rips immediately, continue kneading for another 5 minutes and test again.
Place your kneaded dough in a lightly oiled large bowl, cover tightly with plastic wrap, and let it rise in a warm, draft-free location until it doubles in size approximately 1 hour.
Preheat your oven to 425°F and lightly grease your 9 x 5 inch loaf pan. Once the dough has doubled, punch it down to release the gas. Turn it out onto your work surface and flatten it into a large rectangle. Fold in the sides, then roll it tightly into a log shape. Place it seam-side down in your prepared loaf pan.
Cover the pan with plastic wrap or, for best results, place the entire pan inside a large plastic bag (this allows room for the dough to rise above the pan). Tie the top and tuck the tied ends underneath the pan. Let rise until almost doubled, about 30-45 minutes.
Bake on the center rack of your preheated oven for 35-45 minutes. The loaf is done when the top is golden brown and when you tap the bottom of the loaf, it sounds hollow. This hollow sound indicates the bread is fully baked through.
Remove from the oven and let cool in the pan for 5 minutes, then turn out onto a wire rack. Allow the bread to cool for at least 30 minutes before slicing this cooling period lets the crumb structure set properly, making slicing much easier.
Notes
Store your homemade dave’s killer bread copycat recipe at room temperature in an airtight container or resealable bag for up to 4 days. For longer storage, slice and freeze for up to 3 months toast slices directly from frozen for quick breakfast solutions.
Nutrition Information:
Yield: 6 Serving Size: 1Amount Per Serving: Calories: 120Unsaturated Fat: 0g
Common Questions and FAQs
Can I use bread flour instead of whole wheat flour?
While you can substitute some bread flour for whole wheat, using all bread flour will significantly change the character of this dave’s killer bread recipe. The whole wheat and ancient grain flours provide the signature nutty flavor and dense texture. If you must substitute, replace no more than 1 cup of whole wheat flour with bread flour to maintain the bread’s integrity.
What if I don’t have all the specialty flours like spelt, amaranth, and kamut?
The variety of flours is what makes this copycat dave’s killer bread recipe so special, but you can substitute. Replace any missing specialty flour with equal amounts of whole wheat flour. The bread will still be delicious, though it will lack some of the complex flavor notes. Health food stores and online retailers typically stock these ancient grain flours.
My dough isn’t rising what went wrong?
The most common culprit is dead yeast. Check the expiration date on your yeast package. Water that’s too hot (over 120°F) can kill yeast instantly, while water that’s too cold won’t activate it. Your kitchen temperature matters too if it’s below 70°F, rising will be sluggish. Try the warm oven trick mentioned in the tips section.
Can I make this daves killer bread recipe without a stand mixer?
Absolutely! You can mix the ingredients by hand with a wooden spoon until combined, then proceed directly to the kneading stage. Be prepared for an arm workout you’ll need to knead for closer to 20 minutes by hand to achieve the same gluten development you’d get in 15 minutes with a stand mixer.
Why is my bread dense and heavy instead of light and airy?
Multi-grain breads are naturally denser than white bread, but if yours is too dense, several factors could be at play. Insufficient kneading is the primary cause gluten must be fully developed. Over-flouring during kneading also creates density. Finally, if your yeast is old or wasn’t properly activated, the bread won’t rise adequately.
Can I add more seeds to this dave’s bread recipe?
You can increase the seed content slightly, but don’t go overboard. Seeds are heavy and can weigh down the dough, interfering with rise. If you love extra seeds, consider adding them as a topping after brushing with egg wash rather than incorporating them all into the dough.
How do I know when my bread has cooled enough to slice?
Patience is crucial here! While 30 minutes is the minimum, waiting a full hour is even better. When you cut into bread that’s too warm, the crumb is still setting and can become gummy. The internal steam needs time to redistribute throughout the loaf. If you absolutely must slice early, use a serrated knife with a gentle sawing motion.
My bread collapsed during baking what happened?
Over-proofing during the second rise is typically the culprit. If dough rises too much, the gluten structure weakens and can’t support itself in the oven. The dough should only almost double not triple during the second rise. Also, opening the oven door during the first 20 minutes of baking can cause collapse, so resist peeking.
Can I make this dave’s killer bread copycat recipe in a bread machine?
Bread machines struggle with dense, multi-grain doughs like this one. The kneading mechanism in most home bread machines isn’t powerful enough to properly develop the gluten in such a heavy dough. If you must try, use your bread machine only for mixing and kneading (dough cycle), then remove the dough to shape, proof, and bake in your conventional oven.
Is it normal for the crust to be very hard right after baking?
Yes, the crust will be quite firm initially, especially at 425°F. As the bread cools, moisture from the interior redistributes, and the crust will soften somewhat. If you prefer a softer crust, brush the hot loaf with melted butter immediately after removing it from the oven, or store it in a plastic bag once completely cooled.
How can I tell if my instant yeast is still good?
Test it by adding the yeast to warm water with a pinch of sugar. Wait 10 minutes if it becomes foamy and bubbly, it’s active. If nothing happens, your yeast is dead and should be replaced. Instant yeast typically stays fresh for several months in the pantry or up to a year in the refrigerator or freezer.
Can I make this recipe dairy-free and vegan?
This dave’s killer bread recipe is already dairy-free and vegan! There are no eggs, butter, or milk in the dough. Just ensure your sugar sources (honey and molasses) align with your dietary preferences some vegans avoid honey and can substitute with agave nectar or maple syrup.
Creating this dave’s killer bread copycat recipe at home is an incredibly rewarding experience that fills your kitchen with the irresistible aroma of freshly baked multigrain goodness.
While it requires time and patience, the result is a wholesome, nutritious loaf that tastes even better than store-bought. The combination of ancient grains, seeds, and proper technique produces a bread that’s perfect for everything from morning toast to gourmet sandwiches.
Give this daves killer bread recipe a try, and you’ll never look at store-bought bread the same way again!
You can also follow us on Pinterest, and YouTube for more delicious updates and kitchen inspiration. Your feedback and support mean the world to us!
Delicious Starter
Thanks
Thanks Jana